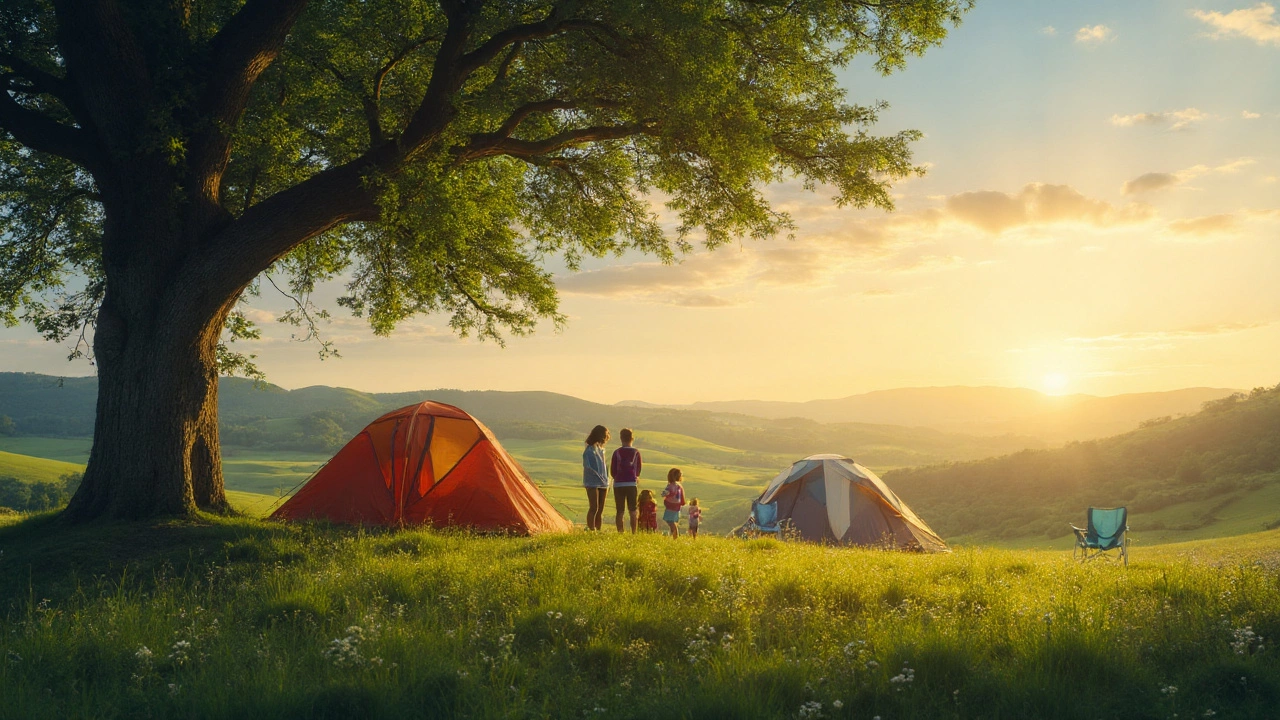
Campsite Setup Tips – Make Your Stay Easy and Enjoyable
Arriving at a new campsite can feel overwhelming, especially if you’re juggling a motorhome, a tent, and a bunch of gear. The good news is that a solid setup routine takes the stress out of the first night and lets you focus on the fun. Below are the steps that work for most campers, whether you’re a first‑timer or a seasoned road‑tripper.
1. Arrive Early and Scope the Spot
Show up before the peak hour (usually 10 am–2 pm). Early arrival gives you the choice of the best pitch and time to sort out the terrain. Walk around the area, spot the nearest water point, check the distance to the nearest bathroom, and look for any obstacles like rocks or low branches.
For motorhomes, make sure the parking space is flat enough to level without too many shims. If the ground is uneven, bring a couple of sturdy wooden pieces or metal levelers – they’re cheap and work wonders.
2. Level, Hook Up, and Secure
Leveling is the foundation. Use a bubble level or a smartphone app to check both side‑to‑side and front‑to‑back. Even a slight tilt can cause water to pool inside the motorhome or make the tent wobble in wind.
Next, connect the power and water. Most UK campsites provide a 13‑amp hook‑up for motorhomes and a fresh‑water tap for tents. Plug the cable in, turn on the water, and test for leaks. If you’re using a portable water tank, fill it before you leave home – it saves you a trip to the tap.
Secure your tent or awning with stakes and guylines. A wind‑blown awning can damage the motorhome roof or knock over a camp chair. Tighten all knots and double‑check that the ground anchors are firm.
Don’t forget the waste system. Empty the fresh water tank if you’ve used it up, and hook the black and gray water hoses to the dump point. A quick flush with clean water helps avoid odors later.
3. Arrange Your Living Space
Inside the motorhome, set up the kitchen area first. Store utensils, cookware, and food in a logical order – think “ready to cook” zone near the stove and “dry goods” near the cabinets. This reduces the time spent searching for items when you’re hungry.
For tents, lay out the sleeping bags and pillow on the ground before you raise the canvas. This prevents you from having to crawl inside after an hour of setting up the poles.
Place a portable table or a folding chair just outside the door. It becomes a natural spot for coffee, snacks, or a place to keep keys and phones within reach.
4. Safety First
Check that the gas bottles are turned off when you’re not using them. Keep a fire extinguisher nearby – most campsites require one, but having a spare never hurts.
Set up a small flashlight or headlamp near the entrance for night trips to the bathroom. A simple battery‑powered LED strip inside the cabin can also prevent trips over things in the dark.
5. Final Walk‑Through
Do a quick sweep of the whole site. Make sure all cables are tucked away, nothing is left on the ground that could cause a trip, and the entrance is clear for easy exit. Leave a brief note for anyone staying after you if you’re in a shared spot – they’ll appreciate the heads‑up about where you’ve placed things.
Following these steps every time will turn campsite setup into a routine rather than a chore. You’ll spend less time wrestling with gear and more time enjoying the views, the fire, and the freedom that comes with a well‑planned adventure.
How to Set Up an Awesome Campsite: Step-by-Step Guide for Beginners
Master campsite setup with these practical tips—from choosing the best spot to campfire safety and gear hacks, all for making your next camping trip unforgettable.
